
Create Video with AI: start with text, an image or a script?
Text-to-video and reference-driven video are not mutually exclusive, and script-to-video is just the film workflow. Start from what you have and what cannot drift, then pick each shot's input.
When you set out to make an AI video, two kinds of tool usually do the work for you:
- Text-to-video;
- Video generated from reference material.
The difference that actually matters to a creator is this: how many decisions are you handing to the model, and which ones do you have to lock down yourself?
With one line of text, the model chooses the character, setting, composition and action. Prepare an image first and you can guide appearance and composition; assign it as a first frame and it also defines the opening image. Hand over a complete script and the tool can help split, narrate and assemble it, but you still have to judge whether the shots it picked are telling your story.
So the question is not “Which feature is best?” It is “What do I already have, and what can this video least afford to get wrong?”
If you have never completed a full video, start with Part 1: From generated clips to something you can actually publish. Once you have made the full trip, come back to the finer question of which input to use for each shot.
This time we are sending Meow-Tsui-Chiao-Meow somewhere far away: a train station.
Text-to-video: the model directs, you just fund it
Text-to-video is at its best when you are purely messing around and money is no object.
You might enter:
An empty station on a rainy night. Meow-Tsui-Chiao-Meow sits alone on the waiting platform, staring blankly at the empty platform. The camera pans left from the platform to the cat. Realistic, cinematic.
But the moment you want a second shot, or a cut, you are down to praying the model reuses the same station and the same cat.
This is easier to accept while exploring, when you can tolerate:
- The character looking different every time;
- Product details being redesigned;
- Important objects landing in the wrong place;
- The model deciding action, lighting and camera movement all at once.
Text-to-video works well as an ignition source for ideas — creativity often only starts once you see a picture. But “what could this idea look like” is not the same question as “can I execute this exact shot.”
I am the director: guiding the model with images or video
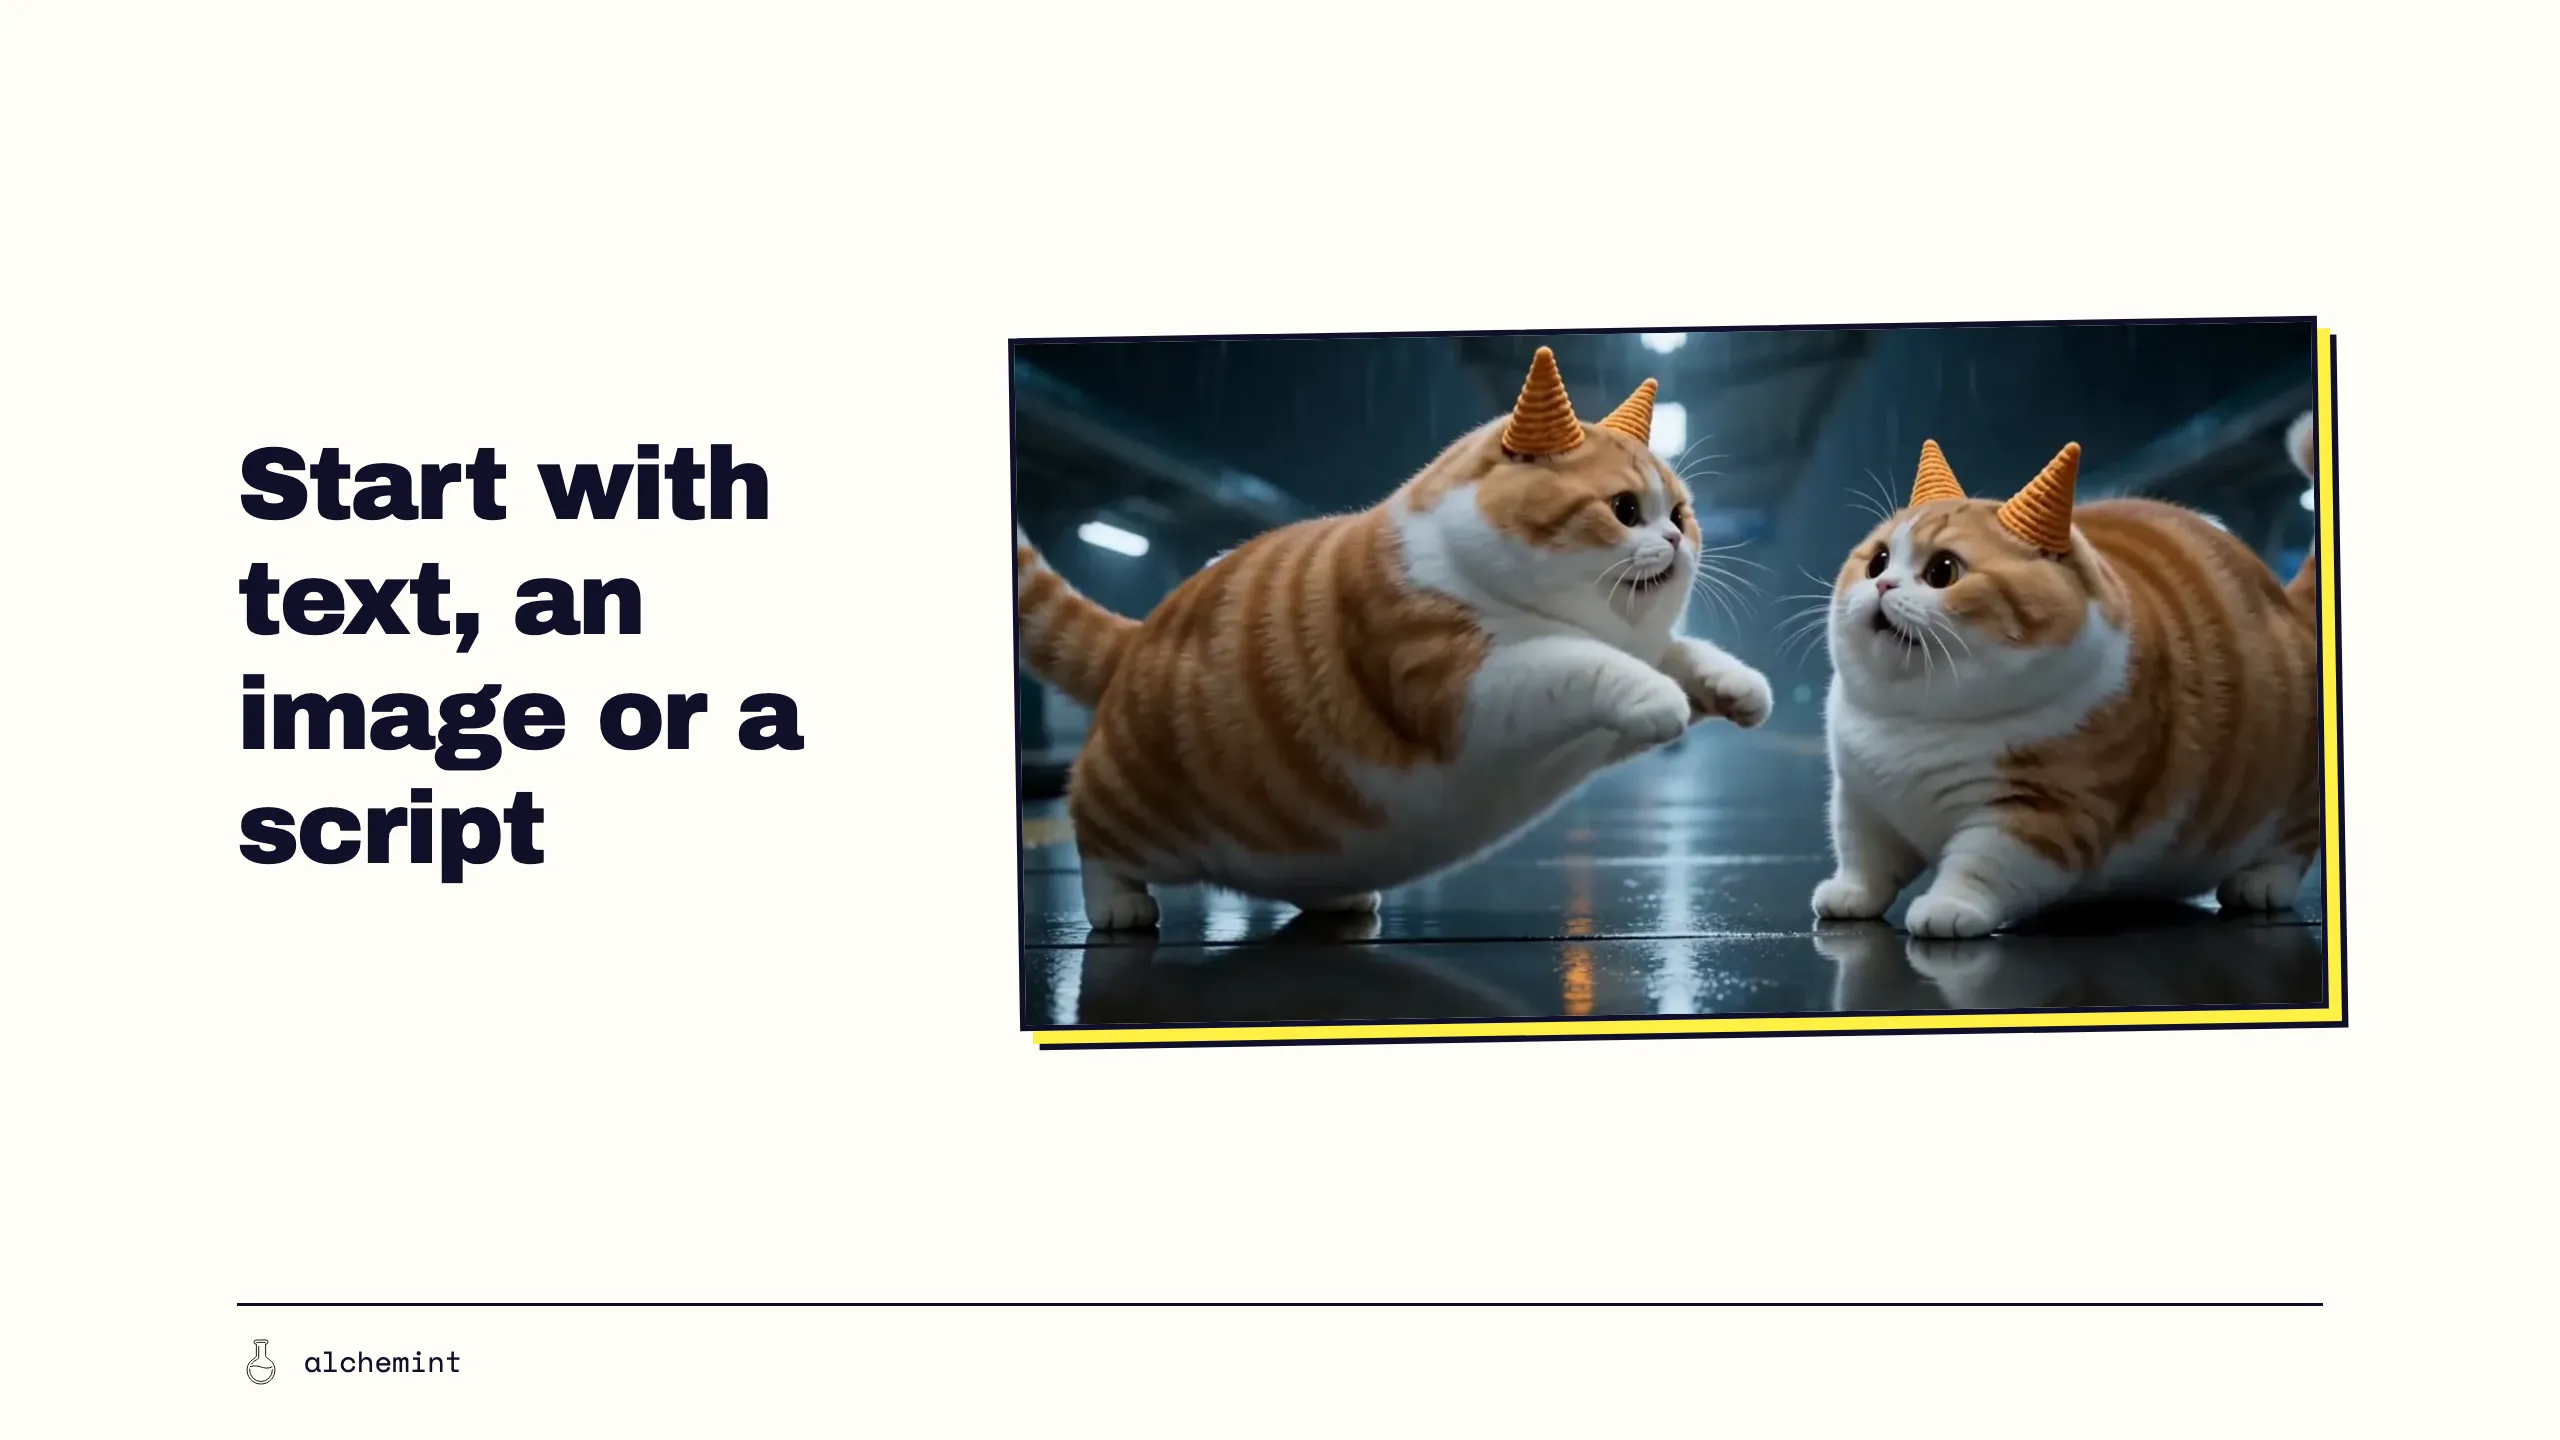
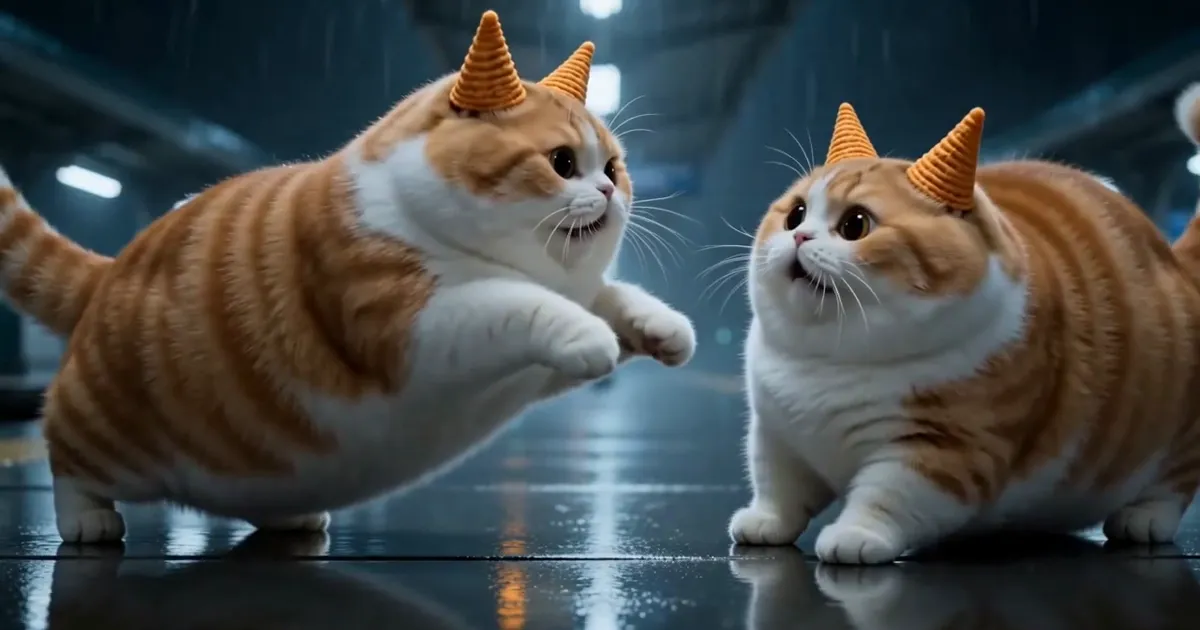
We picked Meow-Tsui-Chiao-Meow as the star of this series because it is a test of what the model can do. A model understands cats and can draw one. But when the prompt says Meow-Tsui-Chiao-Meow and also says its ears are Bugles corn snacks, the model has to reason out what a Bugle even is. Rather than explaining forever, hand it an image.
You will also have seen AI fight scenes going around online. Actually describing choreography in words, though, is harder than writing a break-up essay.
Define the cat in img_1, whose ears are Bugles corn snacks, as Meow-Tsui-Chiao-Meow A.
Define the cat in img_1, whose ears are Bugles corn snacks, as Meow-Tsui-Chiao-Meow B.
An empty station on a rainy night. img_1 Meow-Tsui-Chiao-Meow A and img_1 Meow-Tsui-Chiao-Meow B stand on the deserted platform, holding each other's gaze, sizing each other up. They are the subject; the camera orbits them. Cut to a medium shot: img_1 Meow-Tsui-Chiao-Meow A throws a punch at img_1 Meow-Tsui-Chiao-Meow B.
Using a reference image or clip is how you take over the finer control — of the character, the camera and the action.
The better your reference material, the more the model can actually help you. So choosing an image is not only about “is this pretty.” Also ask:
- Does it suit the action that comes next?
- How much information outside the frame does the model have to invent?
- Are the character, objects and background blocking one another?
- What problem is this reference supposed to solve?
That is why the first article in this series uses a Meow-Tsui-Chiao-Meow image on a white background — we want the model concentrating on understanding the cat in that image, nothing else.
Script-to-video: an option that may yet arrive
Here is the conclusion first: script-to-video is the production workflow the film industry has been running for a century.
No director shows up with one sentence and starts shooting. Before the camera rolls, a film gets broken into sections and then into shots, and every shot is marked with its framing, camera movement, duration, what happens in it and who says what. That table is called a shot list. You already built one in Part 1 — we just did not stop to explain why it has to look like that.
What “script-to-video” does is move that table into a workbench and let you fill in the decisions cell by cell.
The thing worth understanding is what happens next — the cells you fill in get mechanically compiled into a prompt, which is what actually reaches the model. You think you are writing a screenplay. You are writing a prompt, broken into fields that make missing decisions easier to spot.
So the interface does not really matter. It can look like a screenplay editor, a timeline or a Google spreadsheet, but the far end has never changed: the model only reads the text and the image you hand it. The value of the form is not that it is cleverer — it is that it forces you to finish deciding before you generate. You can check framing, camera movement and duration before generating the third shot.
As for how that prompt should actually be organised — which words earn their place, which are placebo, and what the model really reads — that belongs in another article.
What actually matters: preparation, retries, control and editing
“Generated faster” does not mean “finished faster.”
| What to compare | Text-to-video | Image-to-video |
|---|---|---|
| Preparation | Usually less | Requires making or choosing an image first |
| Model freedom | High | Medium, constrained by the starting frame |
| Character/product control | More prone to drift | More controllable with a clear reference |
| Action control | Mostly through text | Shaped by the starting pose |
| Follow-up work | May require a lot of selection | Requires managing multiple references |
This is not a ranking. If your job is exploring a look, high model freedom can be the advantage. If your job is a product video, appearance drift can make the shot unusable outright.
The finish line is “which route lets me finish this video with a sensible amount of preparation and correction” — not “which button spits out video fastest.”
The model is not that disobedient, provided you can tell where it went wrong
A video owes no loyalty to a single input method.
The rainy station could work like this:
- Use text-to-video or text-to-image to explore the station's mood and visual direction;
- Choose the character, clothing and setting, then organise them into character and location references;
- Build a starting image for each storyboard shot, then use image-to-video for the motion;
- Treat the script as the basis for the overall narrative and the subtitles or voice-over, rather than demanding the tool generate the whole film at once;
- Decide shot length, sound and order again on the editing timeline.
This mixed approach looks like more steps, but each step only handles one problem. When the character is wrong, go back and check the character image. When the action is wrong, change that shot's prompt. When the pacing is wrong, return to the script and the edit — instead of remaking every asset.
- 01Create Video with AI: your prompt is your video
- 02Create Video with AI: start with text, an image or a script?You are here
- 03Create Video with AI: use a simple storyboard to connect every shot
- 04AI Video Character Consistency Starts with a Character Sheet